
Switching my OS to Linux Mint
I use Linux passively every day. It’s the gold standard for server operating systems, so all our code builds to Docker images and deploys to Linux environments. I’m no stranger to the server administration, but it’s been a long time since I used Linux as my desktop operating system. I believe the last time was around 2007. As a youngster, I took pride in waiting hours watching my Gentoo kernel compile. Once I started building software professionally, I chose the OS based on the software I was building, primarily .NET / Windows. I dabbled with Ubuntu for a while, but ultimately my first love was games and Visual Studio.
I’ve witnessed a lot of change in the landscape. .NET Core paired with JetBrains Rider works well, Visual Studio Code works great for JS development, and strides have been made on the gaming front. With the addition of ads into Windows and my quest to get all my data back (more on this in future posts), I decided to take her for a spin again. Is it as clean as everyone claims, or are the die hard users peddling their dreams?
I’m installing on my primary machine with no Windows partition to make sure I give it a fair shake, solve any problems I run into, and run my daily life with it.
Choosing a Distribution
Linux comes in a number of different distributions. These are unique operating systems built on top of the Linux kernel with various software on top of them. There’s over 600 distros of Linux, which is one of the things that makes it simultaneously great and customizable, but also a barrier of entry for new users. If you’ve ever heard Debian, Redhat, Slackware, Fedora, or Ubuntu (like I previously mentioned above) - this is what they’re referring to. The point of this article isn’t explaining all the different flavors, but I chose Linux Mint for a couple of reasons. The claims are Linux Mint is easy to install, configure, and get going with things like applications and games. To remove bias, I wanted to choose something with a similar usability curve to something like Windows or OSX.
Getting the OS
The steps are fairly simple. Download an image, put it on a USB drive, restart, and install. Here’s what I did:
- Download the cinnamon edition from the website: https://linuxmint.com/edition.php?id=311.
- Download Etcher to burn the image to a USB drive: https://etcher.balena.io/#download-etcher. I downloaded the standalone edition, because I don’t do this very often, and Windows is about to vanish anyways.
- Plug in a USB flash drive.
I opened the Etcher executable and selected the .ISO file of Linux Mint and then selected the USB flash drive.
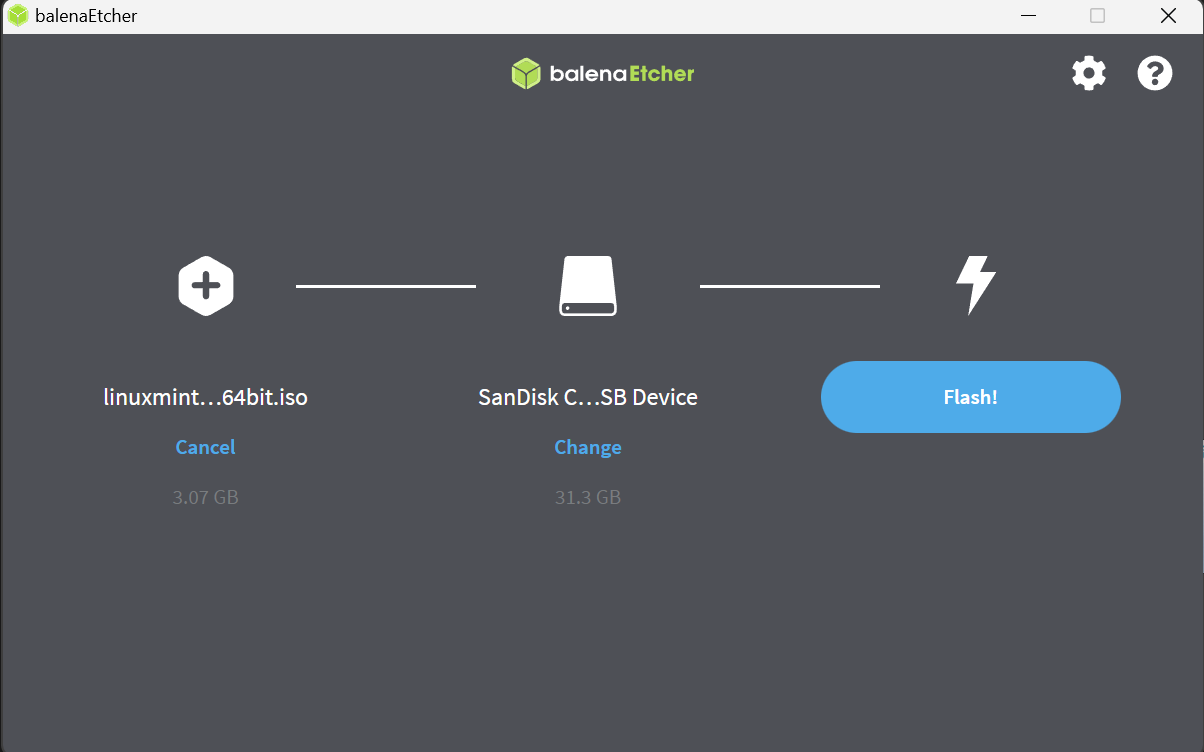
Click “Flash!” and watch it do its thing. Once done, restart the computer.
Installing the OS
When the computer starts up, it will boot from the USB drive. If not, go into the bios, and set it as the default boot device, but I didn’t have a problem. A bootloader will popup.
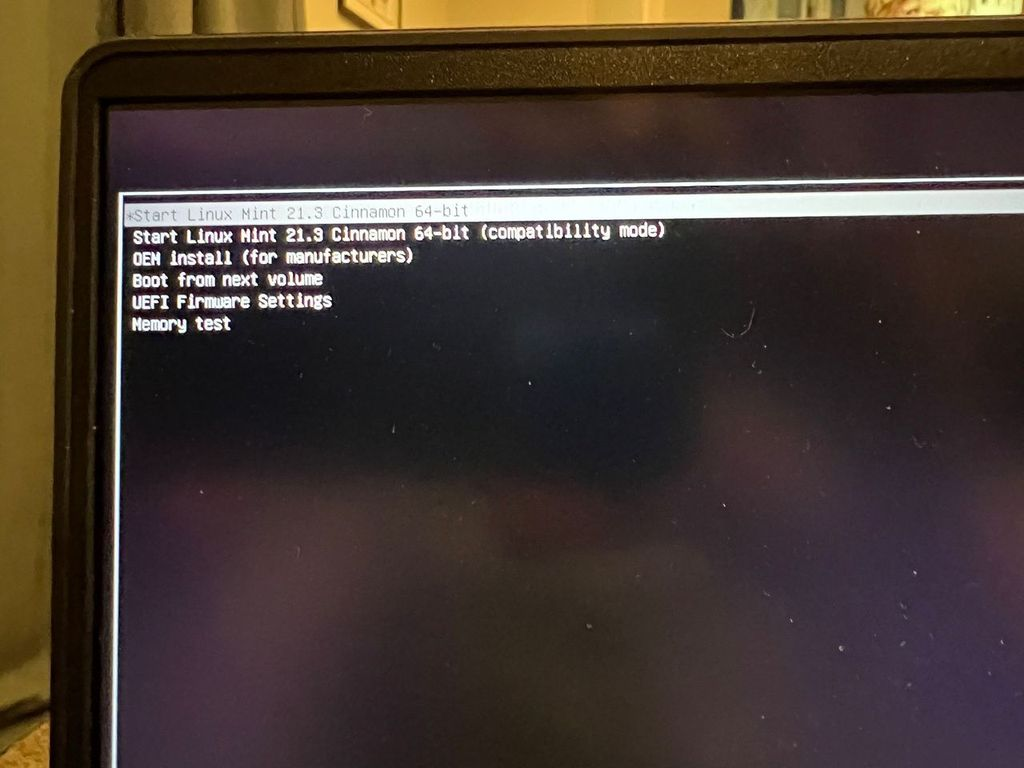
Just press Enter, and Linux Mint will startup from the flash drive. This isn’t installing the operating system. It is just loading it from the flash drive so you can install it on your hard drive.
Note: I ran into an issue with secure boot. If you run into it, just select the first item on the blue screen and it won’t pop-up again. I know it’s recommended to disable it, but I’m trying to make sure all the machines have it, and most users won’t know to disable it before install and I assume will just hit enter.
Internet
Once it’s done loading, we need to get some internet to do our installations. Click the icon on the bottom left and select Preferences.

When the window opens, type internet in the search bar and click Network.
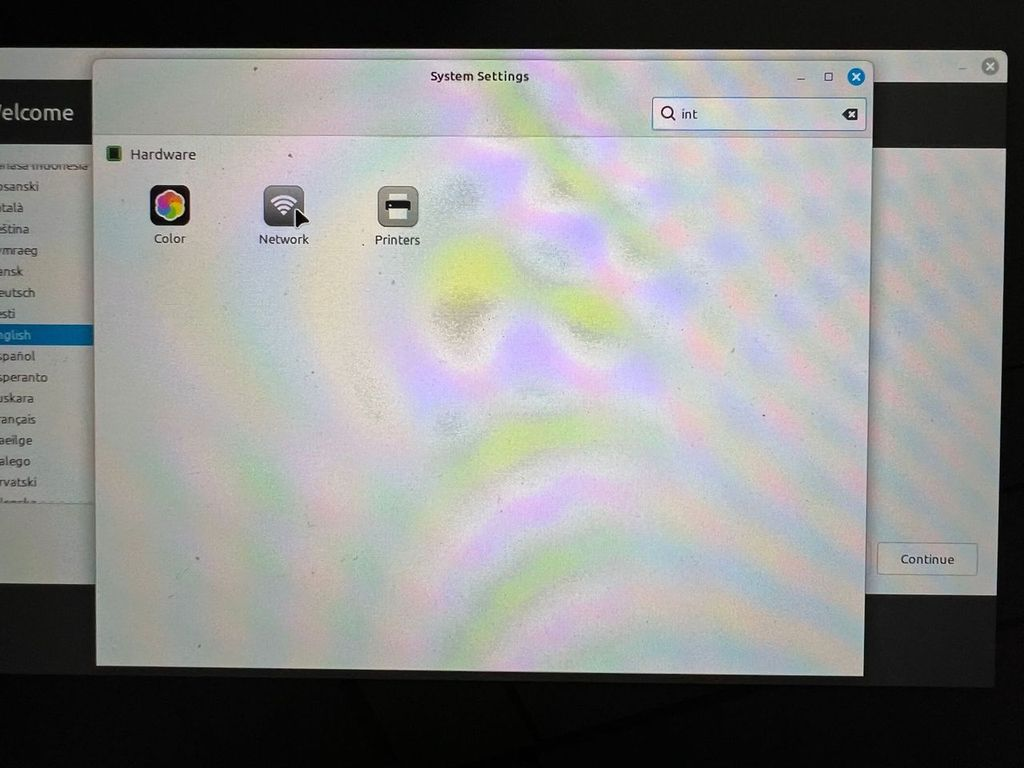
Select the internet connection, connect, and prepare to install.
Installation
On the desktop there’s a nice little Install Linux Mint icon. Double click it and start the wizard.
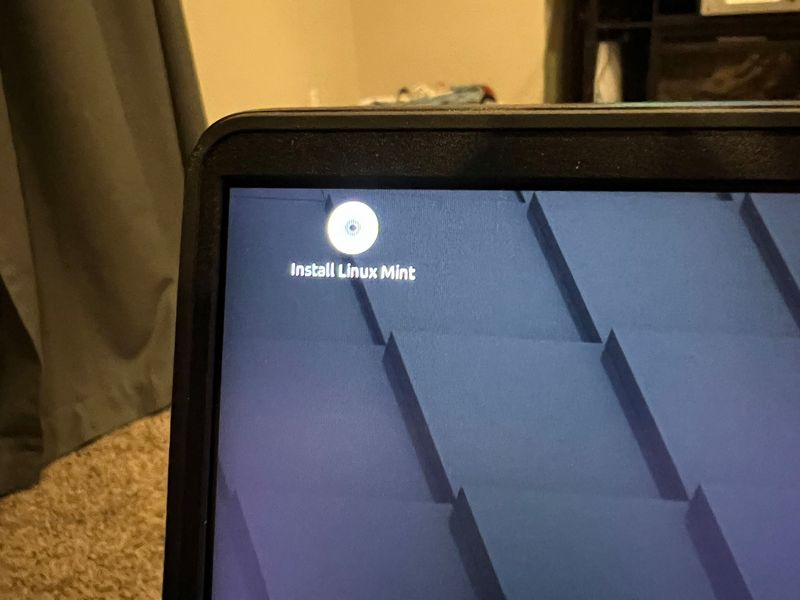
The wizard will load and start an installation process similar to Windows.
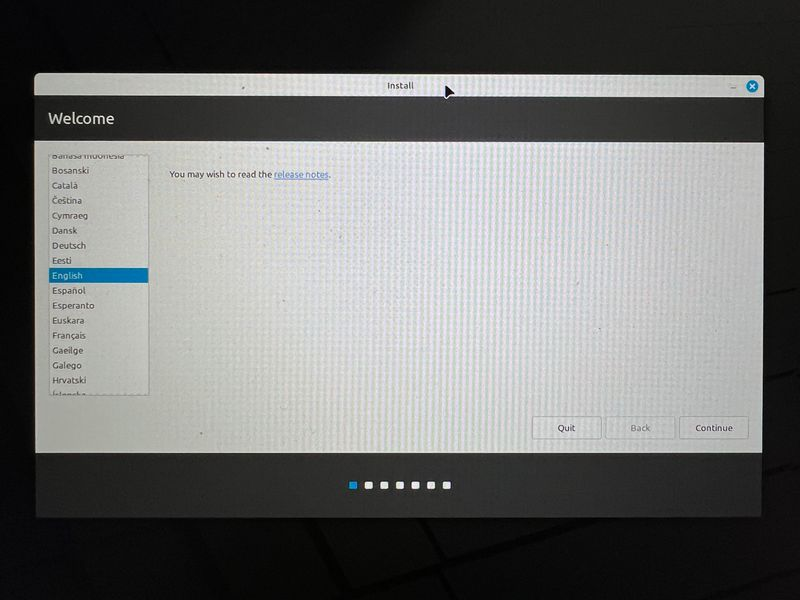
Select English (or your preferred language) and proceed.
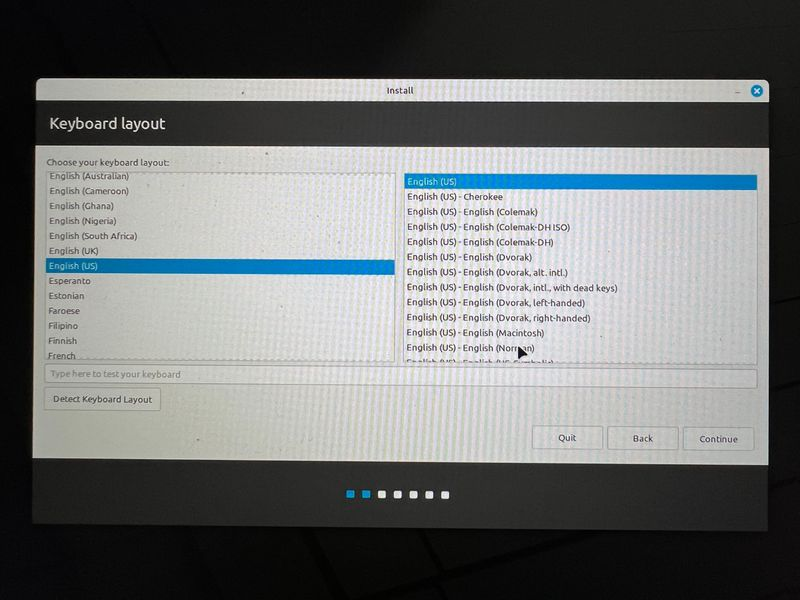
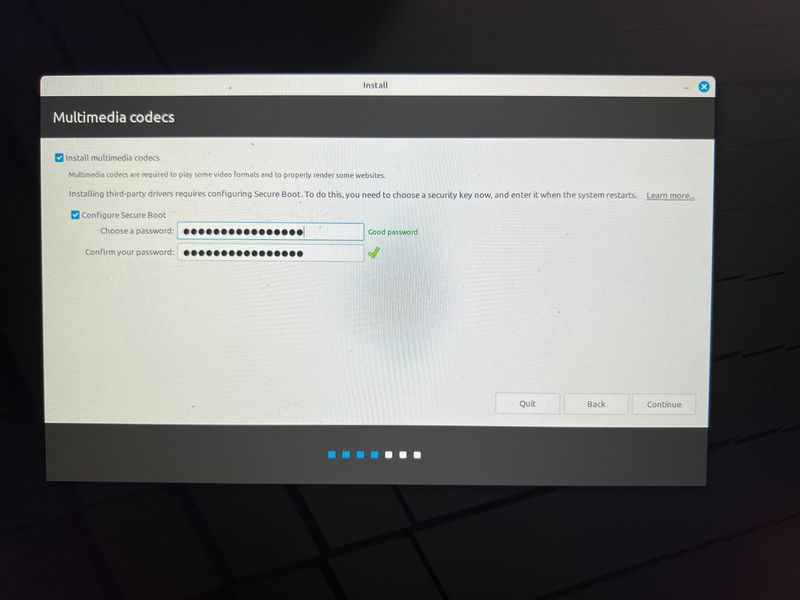
The ol’ keyboard layout will popup. Default is good for me as I’m in the states. The next screen requests multimedia codec installation. I want them, so I need to enter my Secure Boot password. No big deal.
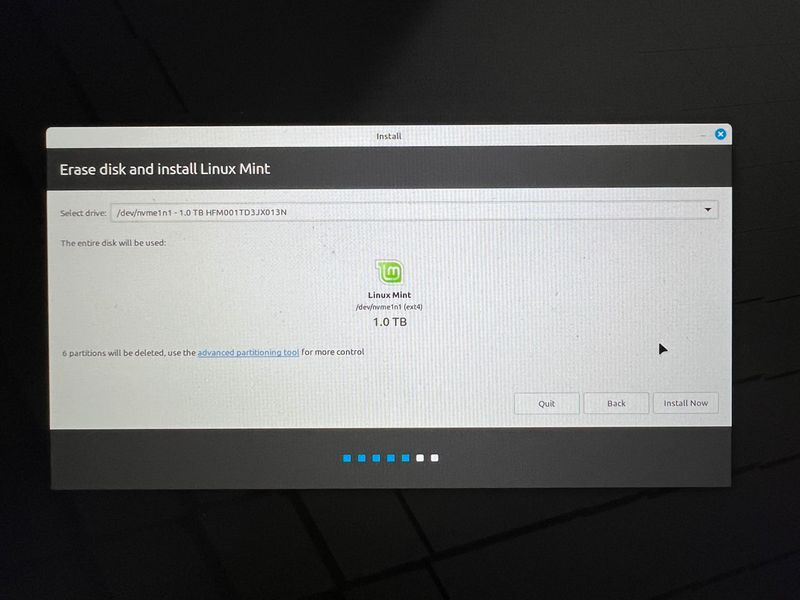
The next part is partitioning. As mentioned previously, I’m interested in going full Linux with no dual boot. I selected “Erase disk and install Linux Mint.”
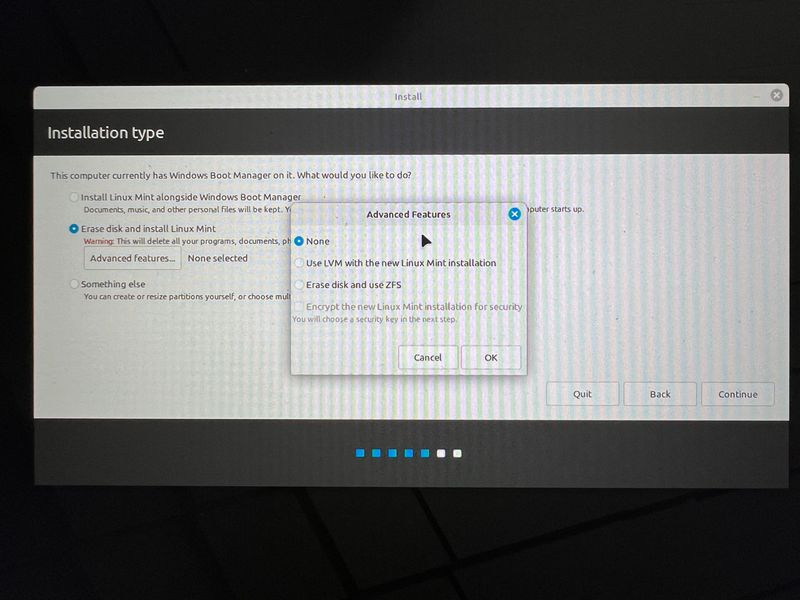
From there I selected the drive to install on.
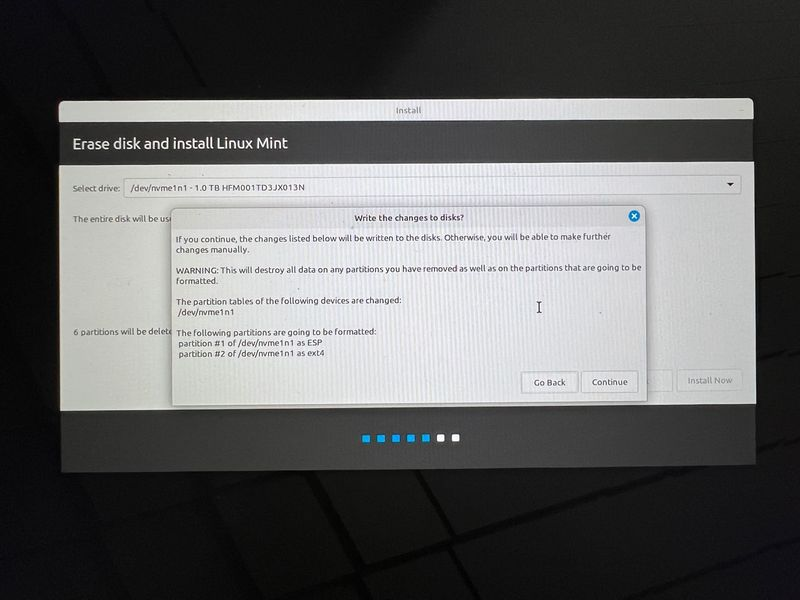
Confirm and go.
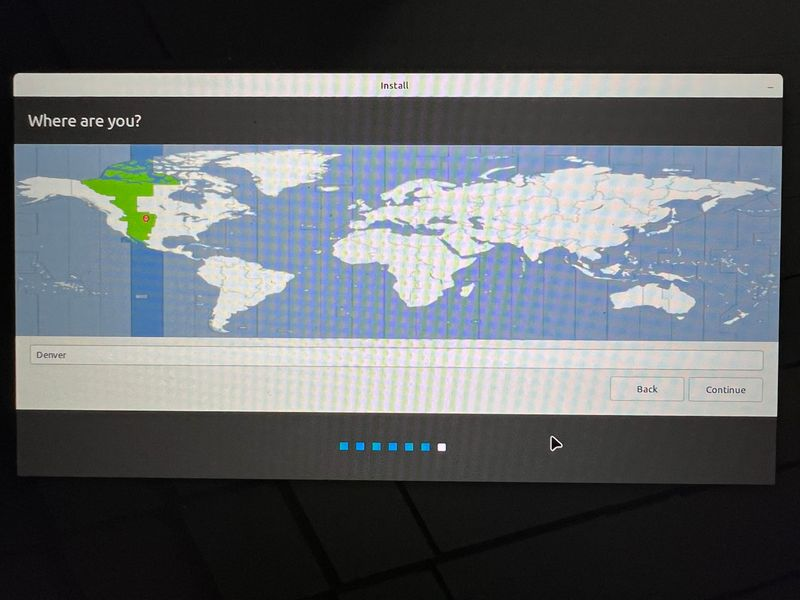
Now select the timezone.
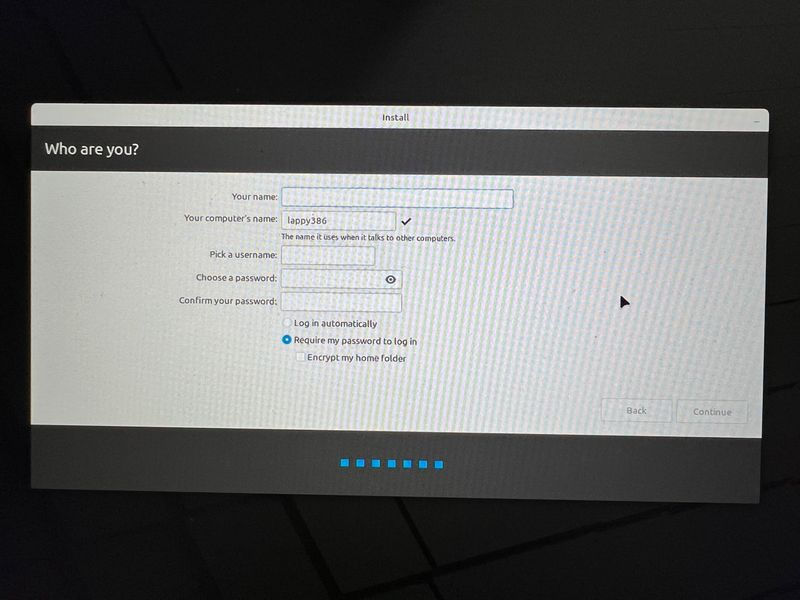
Next, enter user basic information.
Now the operating system will install on the HDD.

Once the installation is done, I was prompted to remove the USB drive and restart the machine. When it reboots, there’s a shiny new operating system!
I have to admin, installation was easy. So far so good. Was it as easy as Windows or Mac to install? Basically, yes. The partition manager was a bit clunky, but I didn’t end up using it anyways. But, that’s just to use the machine. Let’s get it configured.
Base configuration
When the computer first boots, they present a helpful little welcome application.

If you click the Let’s go button, you’ll wind up with some configuration options.
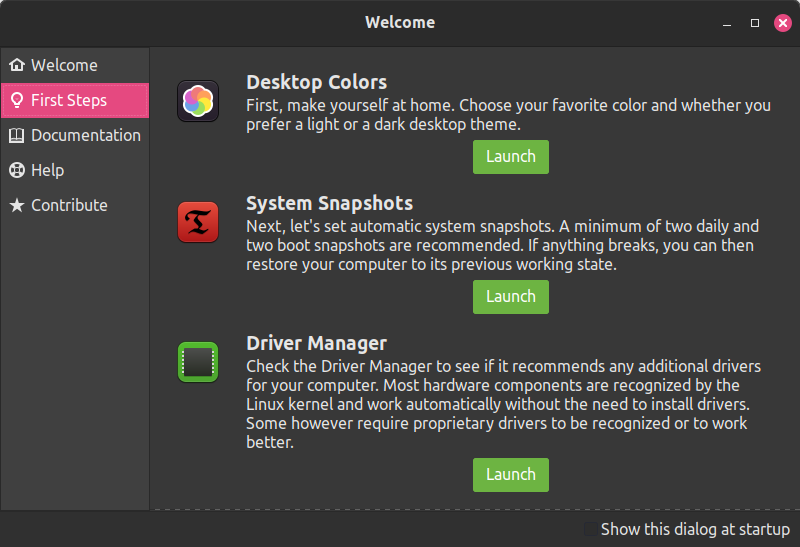
As you can see from the screenshots if you’re doing the installation yourself, the colors are a bit different. I played with that a bit. Nothing of not there. The real important piece is the driver manager. When I launched, I got some NVidia recommendations.
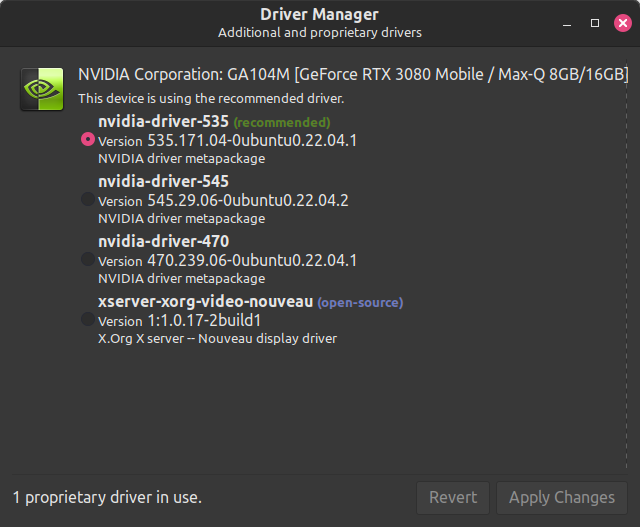
Makes sense. You would have to install NVidia drivers on Windows as well. I selected the recommended version and applied changes. Once I restarted the machine, it all seemed to be running fine.
Multi-monitor configuration (first real hurdle)
I plugged in a second monitor to get stuff done faster, and it wouldn’t display anything. Frustrating, but that’s the first issue I’ve run into so I can Google a bit. Firefox is already installed, so I loaded that bad dog up, and it the web.
Turns out, the internet suggested switching kernels. Open the Update Manager by selecting the menu in the bottom left and searching Update Manager. Then, click View → Linux Kernels.
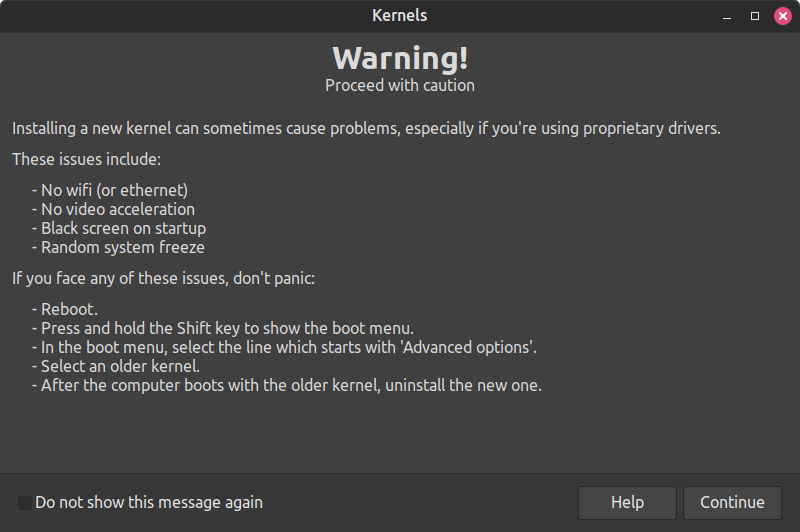
Click continue on the dialog. Now select the latest kernel, and click install.
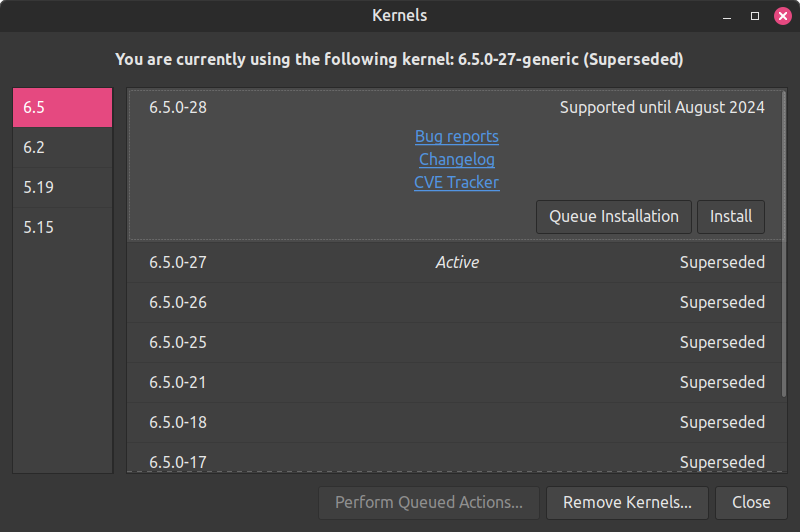
By the time I went back to take this screenshot, there was already another kernel, but at the time I updated to 6.5.0-27 from 5.something. Once I restarted the computer, all my monitors worked correctly.
I will say, this is a bit of a bummer on the usability front. It was far easier to change and update kernels than I remember, but I’m sure it would be scary for some users to replace the foundation of their OS. Not a huge deal, but annoying that I can’t use the long term support kernel without losing monitor support.
Software installation
With the laptop up and running, it’s time to install some software.
Software manager
There’s an application called “Software Manager” that does what the name implies. I installed a few applications this way like Spotify. I mention it first even though I installed all the applications below first, because for a new user, it’s the most likely spot to look to install software. I know my setup is a bit more developer-y.
Package managers
When I first used package managers in Linux, I thought they were the coolest thing in the world. In Windows, if you want to install something, you have to go find it, run an installer, manage the updates, etc. With Linux (Debian based), you can just type sudo apt install the-thing-i-want. It was incredible. However, different Linux distributions can have different package managers. Debian based ones (like Linux Mint and Ubuntu) use .deb files and the apt application. Redhat based distributions use .rpm. So, you do have to pay attention when doing an install. But, we know we’re Debian based, so let’s start with .Net.
.Net
sudo apt-get update && sudo apt-get install -y dotnet-sdk-8.0
Boom! Done. That does feel good.
NodeJS
I use the Node Version Manager as I’m running a number of different projects that I prefer to be version locked. There isn’t a direct deb package to my knowledge, but when I go to the site, it’s easy to install with a script.
curl -o- https://raw.githubusercontent.com/nvm-sh/nvm/v0.39.1/install.sh | bash
Once the version manager is installed, I can use it to install the latest version of node.
nvm install latest
Docker Desktop
This one threw me for a bit. I think there may be an easier way, but this is what I did. First, I added the sources to apt.
# Add Docker's official GPG key:
sudo apt-get update
sudo apt-get install ca-certificates curl
sudo install -m 0755 -d /etc/apt/keyrings
sudo curl -fsSL https://download.docker.com/linux/ubuntu/gpg -o /etc/apt/keyrings/docker.asc
sudo chmod a+r /etc/apt/keyrings/docker.asc

# Add the repository to Apt sources:
echo \
  "deb [arch=$(dpkg --print-architecture) signed-by=/etc/apt/keyrings/docker.asc] https://download.docker.com/linux/ubuntu \
  $(. /etc/os-release && echo "$UBUNTU_CODENAME") stable" | \
  sudo tee /etc/apt/sources.list.d/docker.list > /dev/null
sudo apt-get update
Next, I downloaded the latest deb here: https://desktop.docker.com/linux/main/amd64/145265/docker-desktop-4.29.0-amd64.deb?utm_source=docker&utm_medium=webreferral&utm_campaign=docs-driven-download-linux-amd64.
Finally, I used the command line to install that deb file.
cd ~/Downloads
sudo apt-get install ./docker-desktop-4.29.0-amd64.deb
But wait! When I ran Docker Desktop, nothing happened. I didn’t get an error or anything, it just didn’t startup. Back to Google. Turns out, I needed to authenticate, but for some reason I couldn’t do it via the desktop application.
gpg --generate-key
That will ask some questions, and a popup for a password to protect the key.
GnuPG needs to construct a user ID to identify your key.

Real name: Molly
Email address: [email protected]
You selected this USER-ID:
   "Molly <[email protected]>"

Change (N)ame, (E)mail, or (O)kay/(Q)uit? O
...
pubrsa3072 2022-03-31 [SC] [expires: 2024-03-30]
 <generated gpg-id public key>
uid          Molly <[email protected]>
subrsa3072  2022-03-31 [E] [expires: 2024-03-30]
Then, I copied the <generated gpg-id public key> and initialized it.
pass init <your_generated_gpg-id_public_key>
At that point, I could go and sign in.
Git
We’re moving right along with the software developer applications.
sudo apt-get update
sudo apt-get install git-all
Great, except I want to authenticate to Github using their tool, so I installed the Github CLI.
(type -p wget >/dev/null || (sudo apt update && sudo apt-get install wget -y)) \
&& sudo mkdir -p -m 755 /etc/apt/keyrings \
&& wget -qO- https://cli.github.com/packages/githubcli-archive-keyring.gpg | sudo tee /etc/apt/keyrings/githubcli-archive-keyring.gpg > /dev/null \
&& sudo chmod go+r /etc/apt/keyrings/githubcli-archive-keyring.gpg \
&& echo "deb [arch=$(dpkg --print-architecture) signed-by=/etc/apt/keyrings/githubcli-archive-keyring.gpg] https://cli.github.com/packages stable main" | sudo tee /etc/apt/sources.list.d/github-cli.list > /dev/null \
&& sudo apt update \
&& sudo apt install gh -y
Similar to Docker, the sources for Github CLI weren’t in the default sources list, so it needed to be added. That’s what the previous command does. Now I can login.
gh auth login
- select Github.com
- select HTTPS
- select Y when asked if you would like to use your credentials
- select Login with web browser
Visual Studio Code
I originally installed it via the Software Manager (Flatpak). When you do it this way, you don’t have access to the environments. So I uninstalled it, and installed via the deb on the visual studio website (https://code.visualstudio.com/download). Just download the .deb from there, and double click it. You can install via command line like I did with Docker, but I was trying a bunch of stuff out.
JetBrains Rider
I don’t have Visual Studio, so we have to try it out. I followed the instructions https://www.jetbrains.com/help/rider/Installation_guide.html#toolbox. I’m going to use the toolbox app, which requires installing libfuse. I already had it, but if it doesn’t exist in the future:
sudo apt install libfuse2
Next, I went here (https://www.jetbrains.com/toolbox-app/) and downloaded the tarball.
cd ~/Downloads/
sudo tar -xzf jetbrains-toolbox-2.3.0.30876.tar.gz -C /opt
Then just run it:
/opt/jetbrains-toolbox-2.3.0.30876/jetbrains-toolbox
The toolbox app opened, and after I accepted some agreements, I was able to select Rider from the list of apps to install.
Azure Storage Explorer
I followed this guide to use the tarball and get it installed: https://www.phillipsj.net/posts/installing-azure-storage-explorer-on-linux/.
Notion
No native app. Tough break.
Conclusion
It’s only the first day using it, so I’m not going to draw any concrete conclusions. So far, the tools have come a long way. For the newbie, the OS installation process is pretty easy, but all the different ways to install software could create confusion. There’s definitely still a learning curve. I’ll give it a run for a while and report back.